EmoryOakleyEdited JUL. 16, 2025 AT 7:06 PM
I'm glad you enjoyed this article. That's a really great suggestion, I do definitely take advantage of this from time to time but didn't know that it was called blue hour.


Like me, outdoor enthusiasts are drawn to the pristine landscapes and snow-covered forests for unforgettable camping adventures in the Pacific Northwest. From snow-capped mountains and icy lakes to towering evergreens, the winter scenery here offers endless opportunities for stunning photography.
So, here are some photography tips for winter campers in the Pacific Northwest. As an iPhone photographer, I will include some specific iPhone photography tips (because you don't always want to lung around your heavy and expensive photography equipment on your outdoor adventures, at least I don't).
Of course, these tips can be used any time of the year, but focusing on the time of the year with the lowest light makes for the more versatile tips.
In the Pacific Northwest, the low winter sun casts a warm, golden glow over the landscape during the early morning and late afternoon hours. Take advantage of these magical moments known as the golden hour to capture soft, diffused light that enhances the texture and depth of your photos.
Plan your photography outings around sunrise and sunset to capture stunning landscapes bathed in golden hues, from snow-covered mountains to frost-covered forests.
Winter camping often means cold temperatures, icy conditions and lower light, making stability a vital consideration, especially when capturing long exposures or shooting in low light.
Invest in a sturdy, weather-resistant tripod that can withstand the rigours of winter photography and provide steady support for your camera, even on uneven terrain. A tripod will help prevent camera shake and ensure sharp, blur-free images, allowing you to capture the intricate details of snowflakes, frost patterns, and frozen landscapes with precision and clarity.
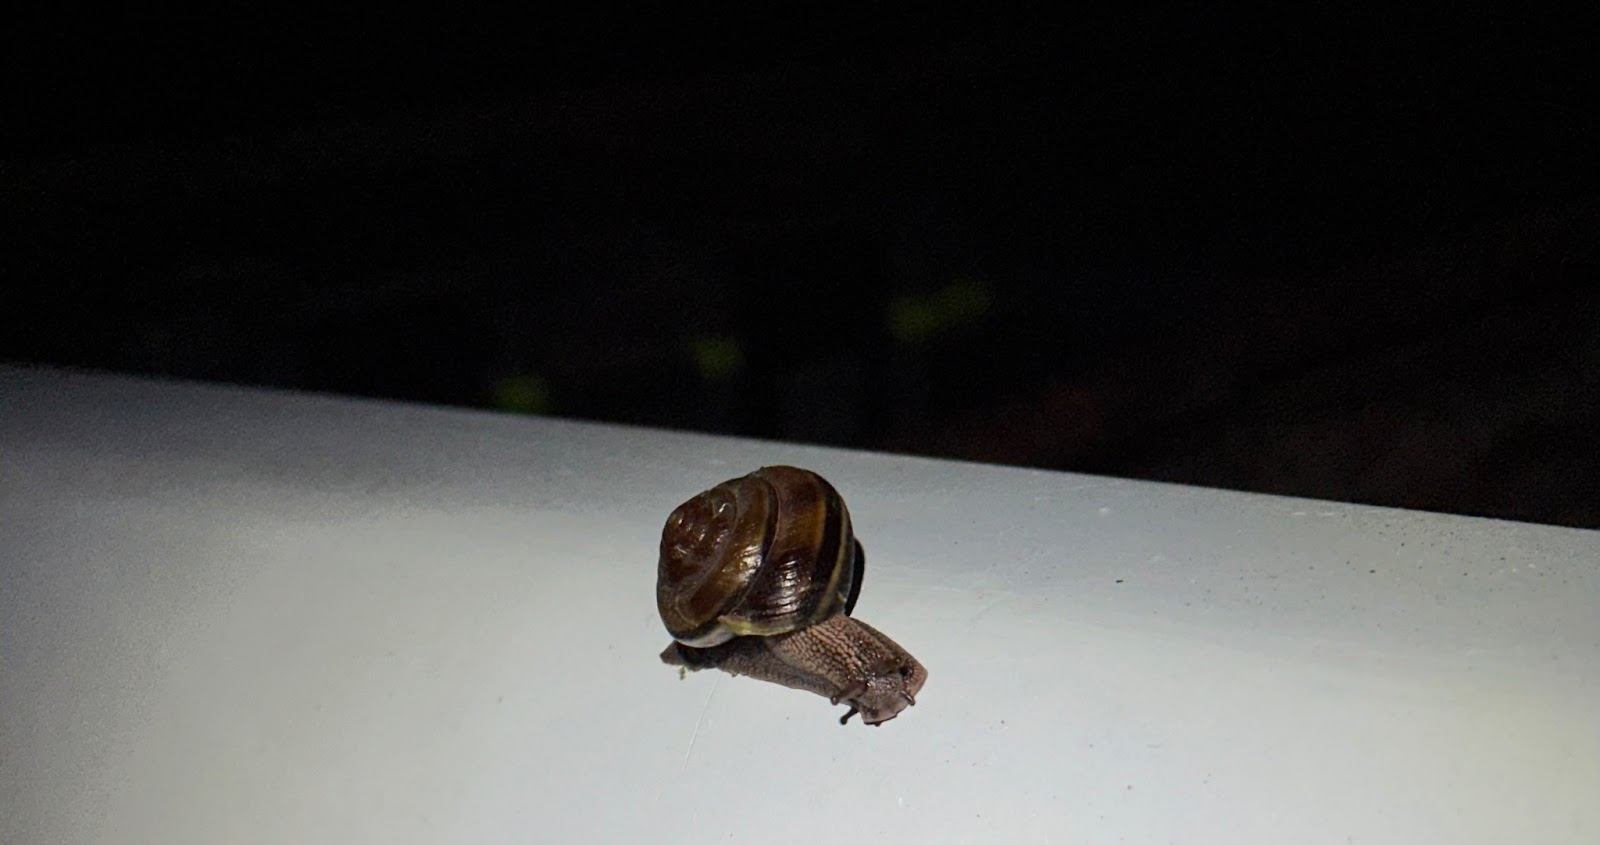
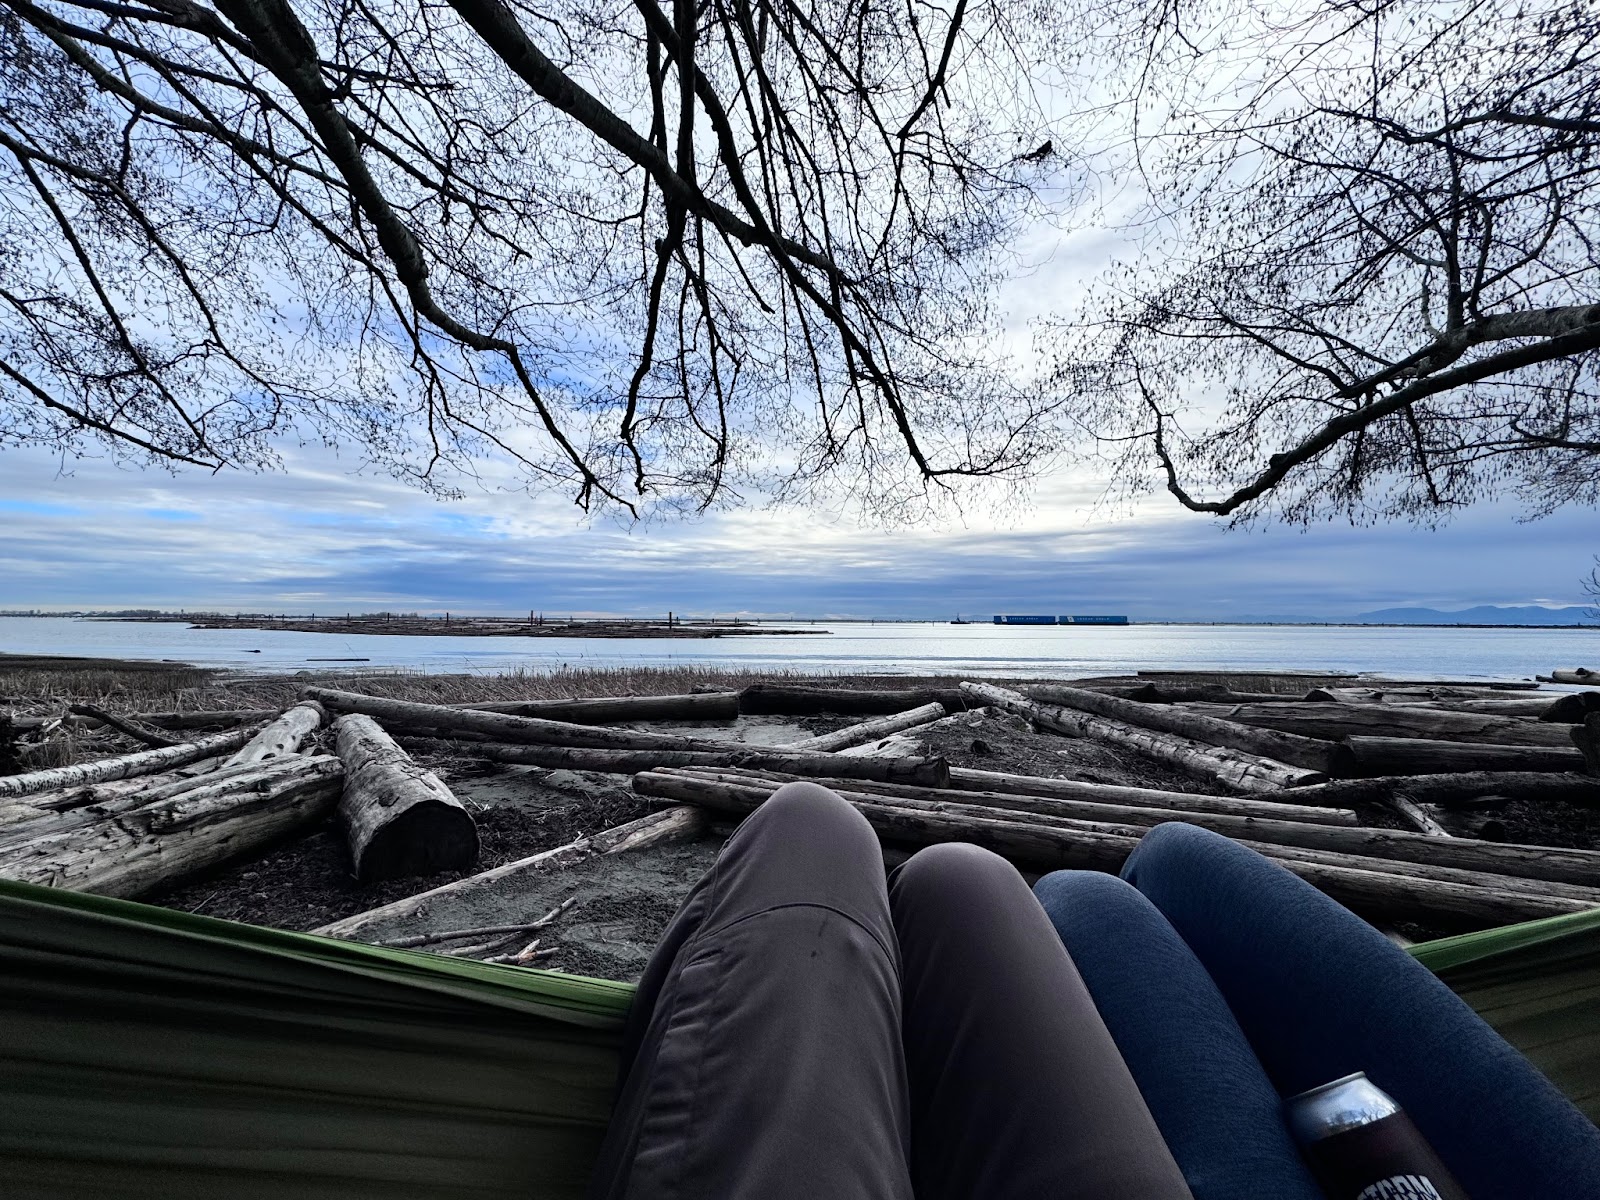
If you don't want to invest in a tripod or don't want it to take up space in your bag, keep an eye out for things you can rest your phone on to keep it stable while capturing photos. Sometimes, I even lay on the ground to capture the perfect picture (make sure you're wearing suitable clothes for the weather so you stay dry).
I didn’t use a tripod for this photo, but I set up my camera on the edge of the truck to capture this image. Very impressed how well my iPhone captured the snail despite it being almost completely dark.
Snowy landscapes can trick your camera's light meter, resulting in underexposed photos with dull, gray tones.
To compensate for this, experiment with exposure compensation to brighten your images and retain the natural brightness and vibrancy of the snow. Increase your camera's exposure by +1 or +2 stops to ensure proper exposure and preserve the delicate highlights and shadows of the winter landscape.
How to experiment with exposure on your iPhone:
Winter landscapes in the Pacific Northwest are characterized by striking contrasts between light and shadow, with sunlight filtering through the trees and casting long, dramatic shadows across the snow-covered terrain.
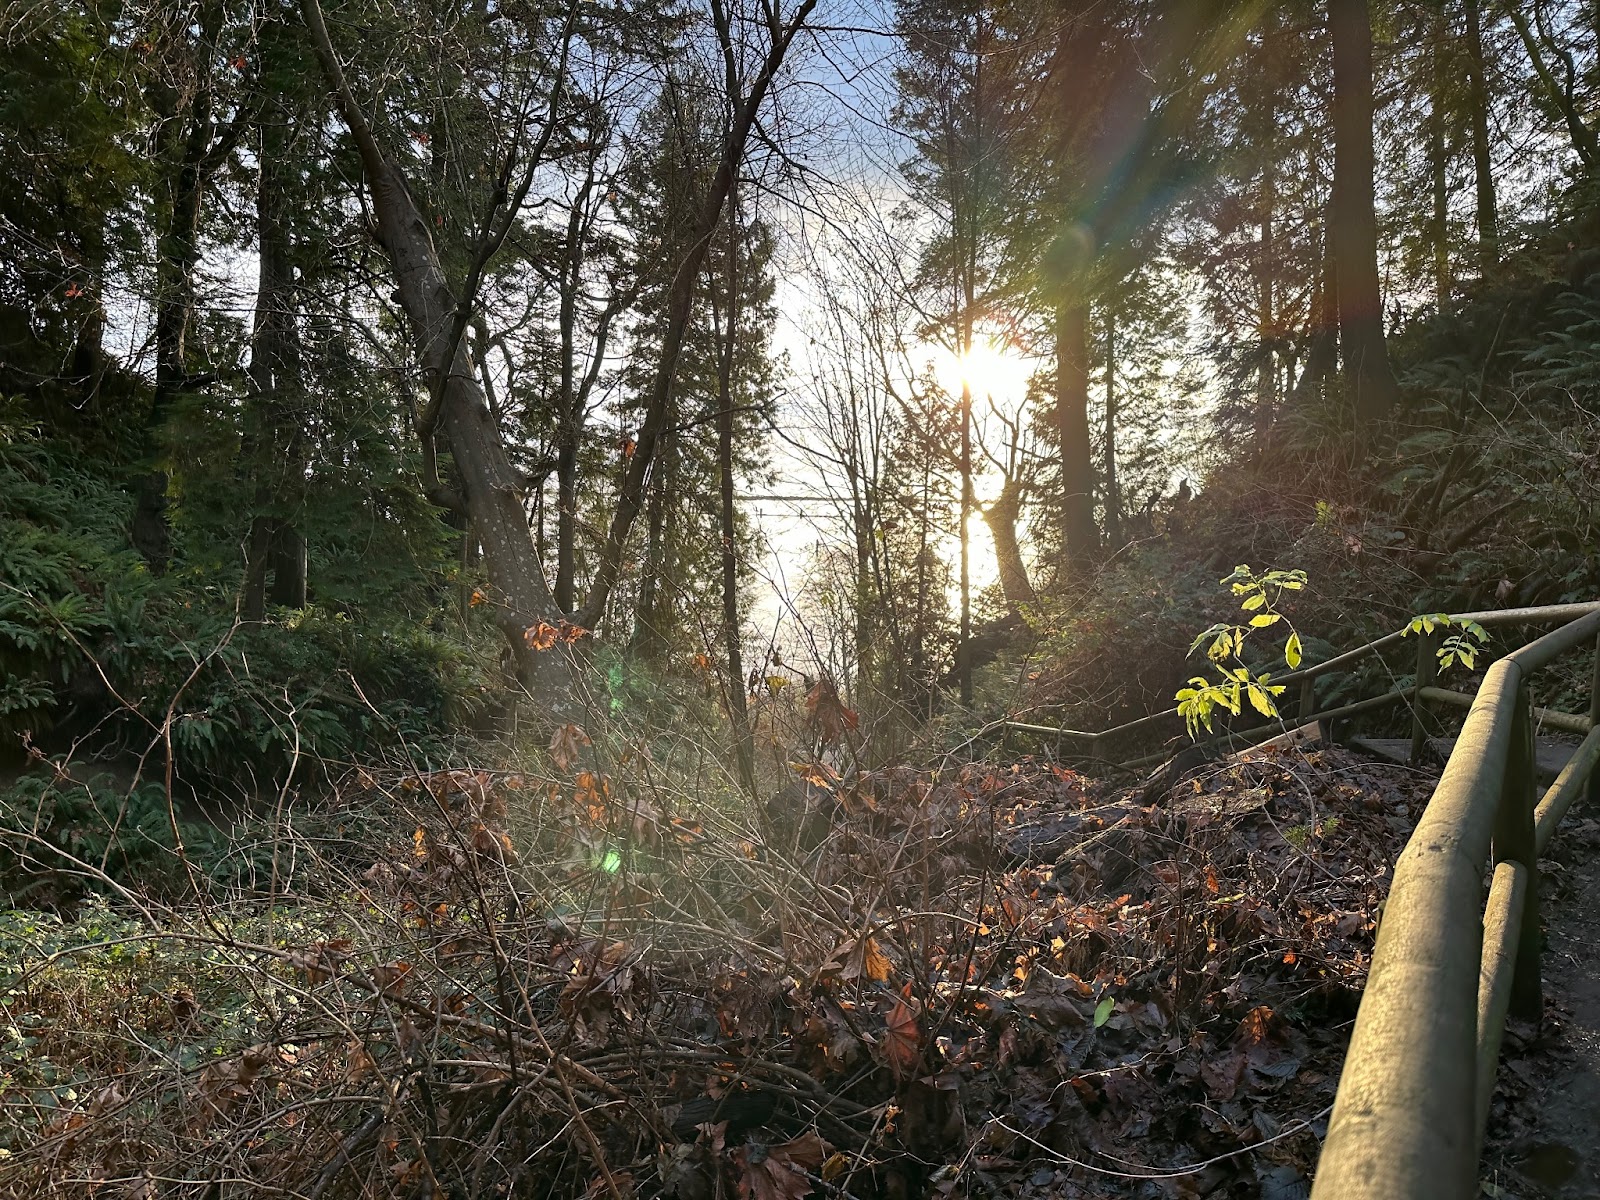
Embrace the interplay of light and shadow in your photos to create dynamic compositions and evoke a sense of depth and dimension. Look for interesting patterns and textures formed by the interaction of sunlight and snow, from intricate frost formations to sparkling icicles hanging from tree branches. Of course, there isn’t always snow in the winter in a lot of the Pacific Northwest (like this year), but you can still consider shadows and highlights in the forest, especially during the winter when there is less light.
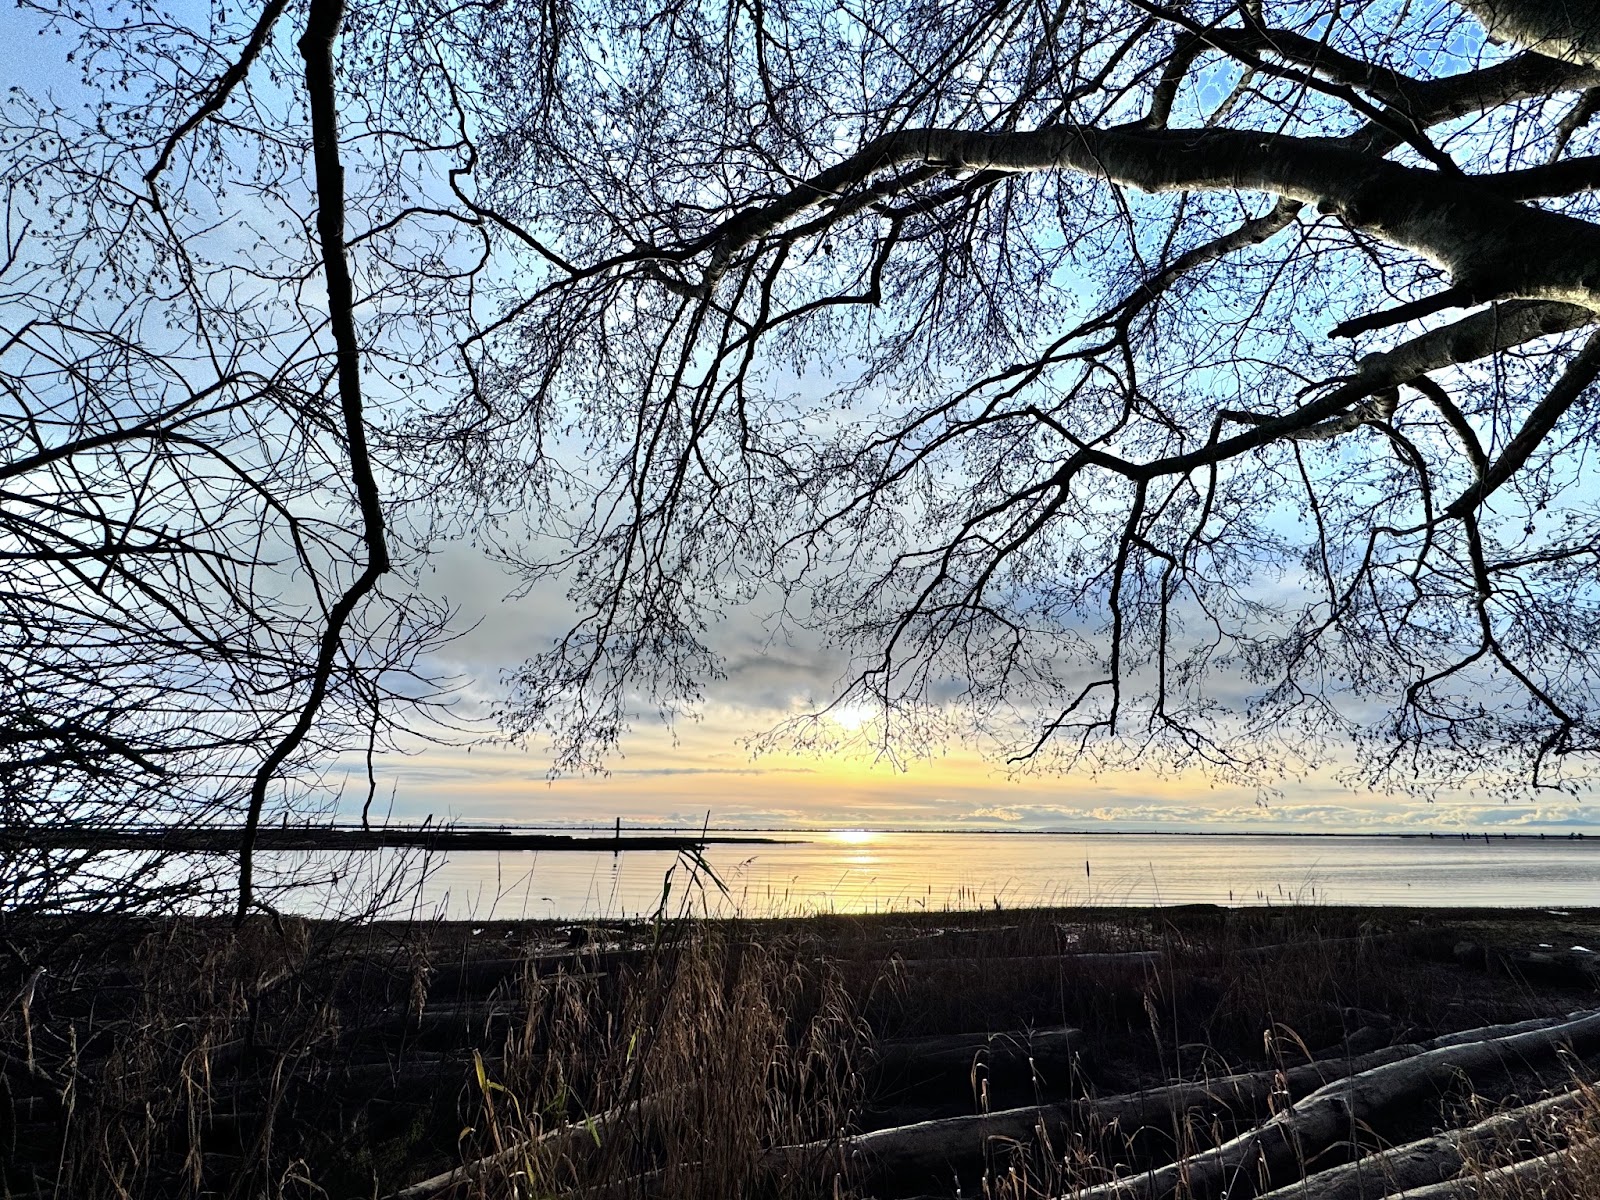
I absolutely had to capture how the sun was streaking through the trees right before sunset.
For iPhone photographers, HDR (High Dynamic Range) mode can help you capture more detail in your photos' highlights and shadows, resulting in well-exposed images with balanced lighting.
Composition plays a crucial role in creating visually compelling winter photographs. Experiment with different perspectives, angles, and framing techniques to capture the beauty and grandeur of the Pacific Northwest in winter.
Incorporate leading lines, such as snow-covered trails or winding rivers, to draw the viewer's eye into the scene and create a sense of depth and movement.
Consider the rule of thirds and place key elements of interest, such as mountains, trees, or frozen waterfalls, along the gridlines to create balanced and harmonious compositions.
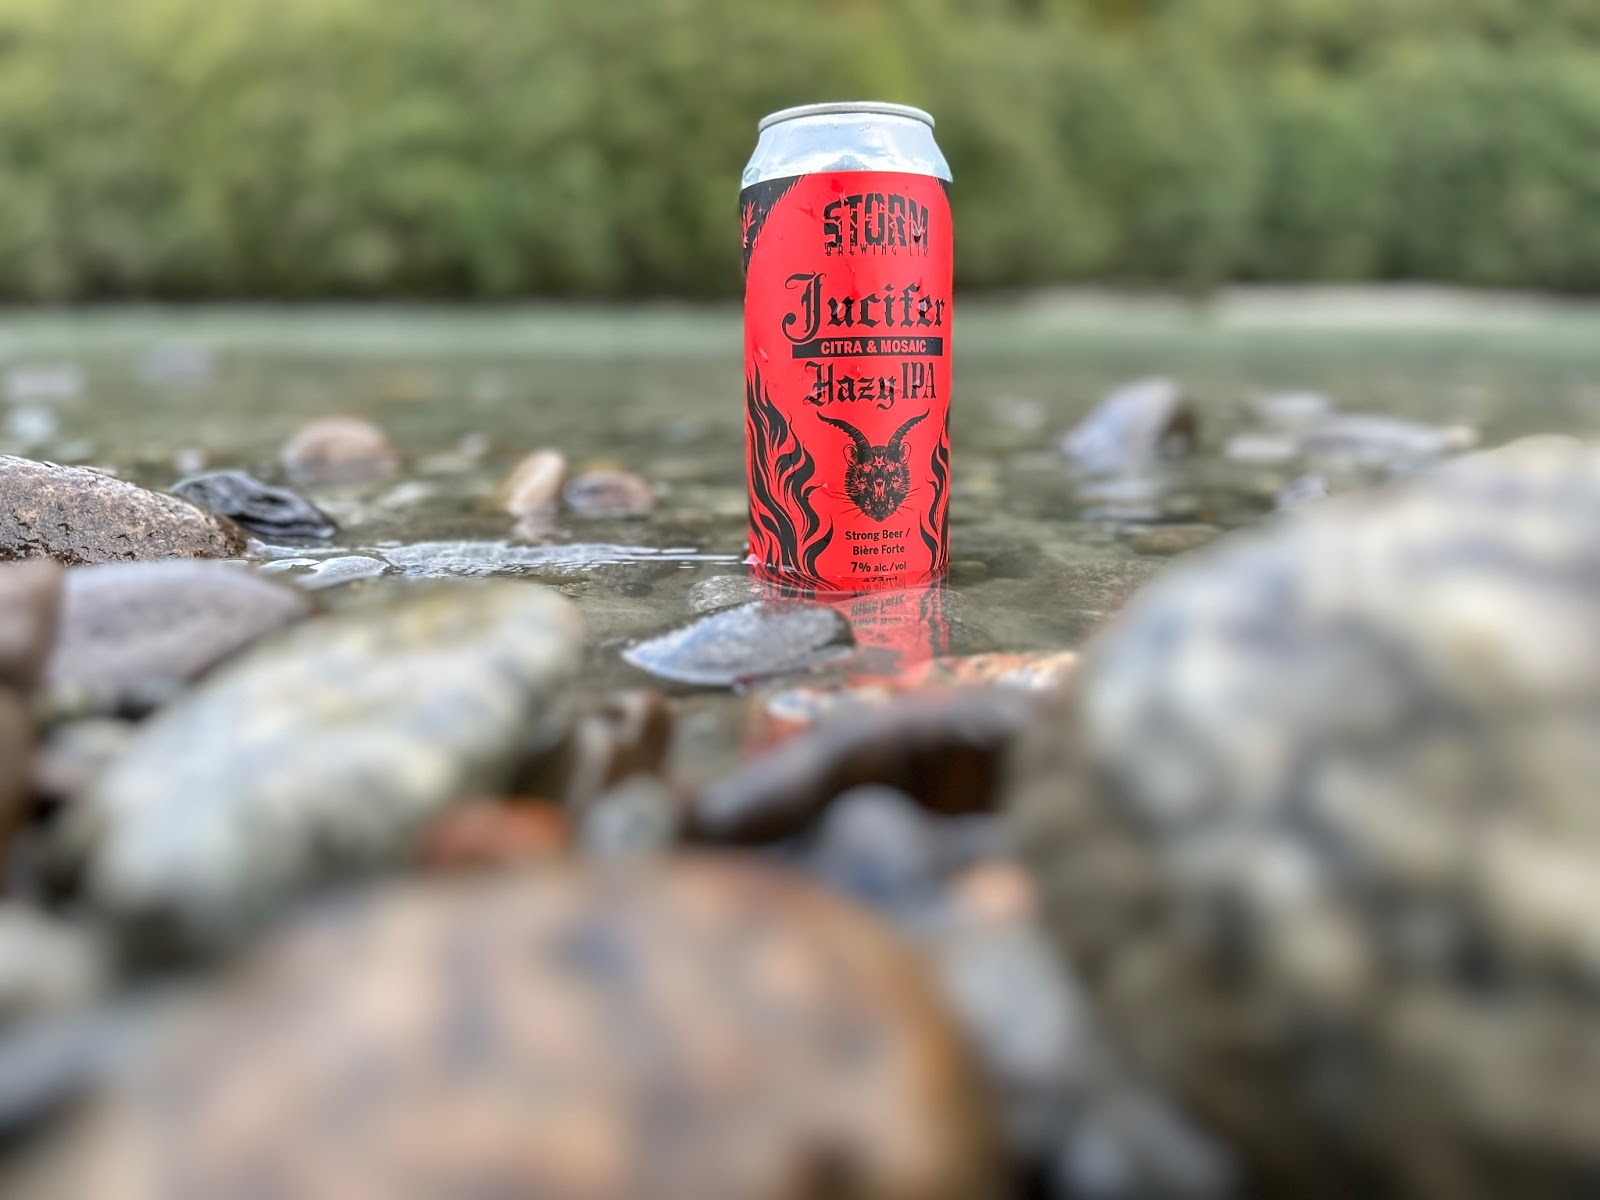
Beer is often one of my camping companions, and it can be a lot of fun to experiment with taking product photos on my adventures. I love how the composition of this image came out with the angle and the rocks at the water’s edge in the foreground.
Winter in the Pacific Northwest transforms the landscape into a sparkling wonderland of frost and ice, with frozen waterfalls, icy lakes, and delicate frost patterns adorning the scenery. Focus on capturing the intricate details and textures of frost and ice formations, from glistening frost crystals on branches to translucent ice formations along riverbanks.
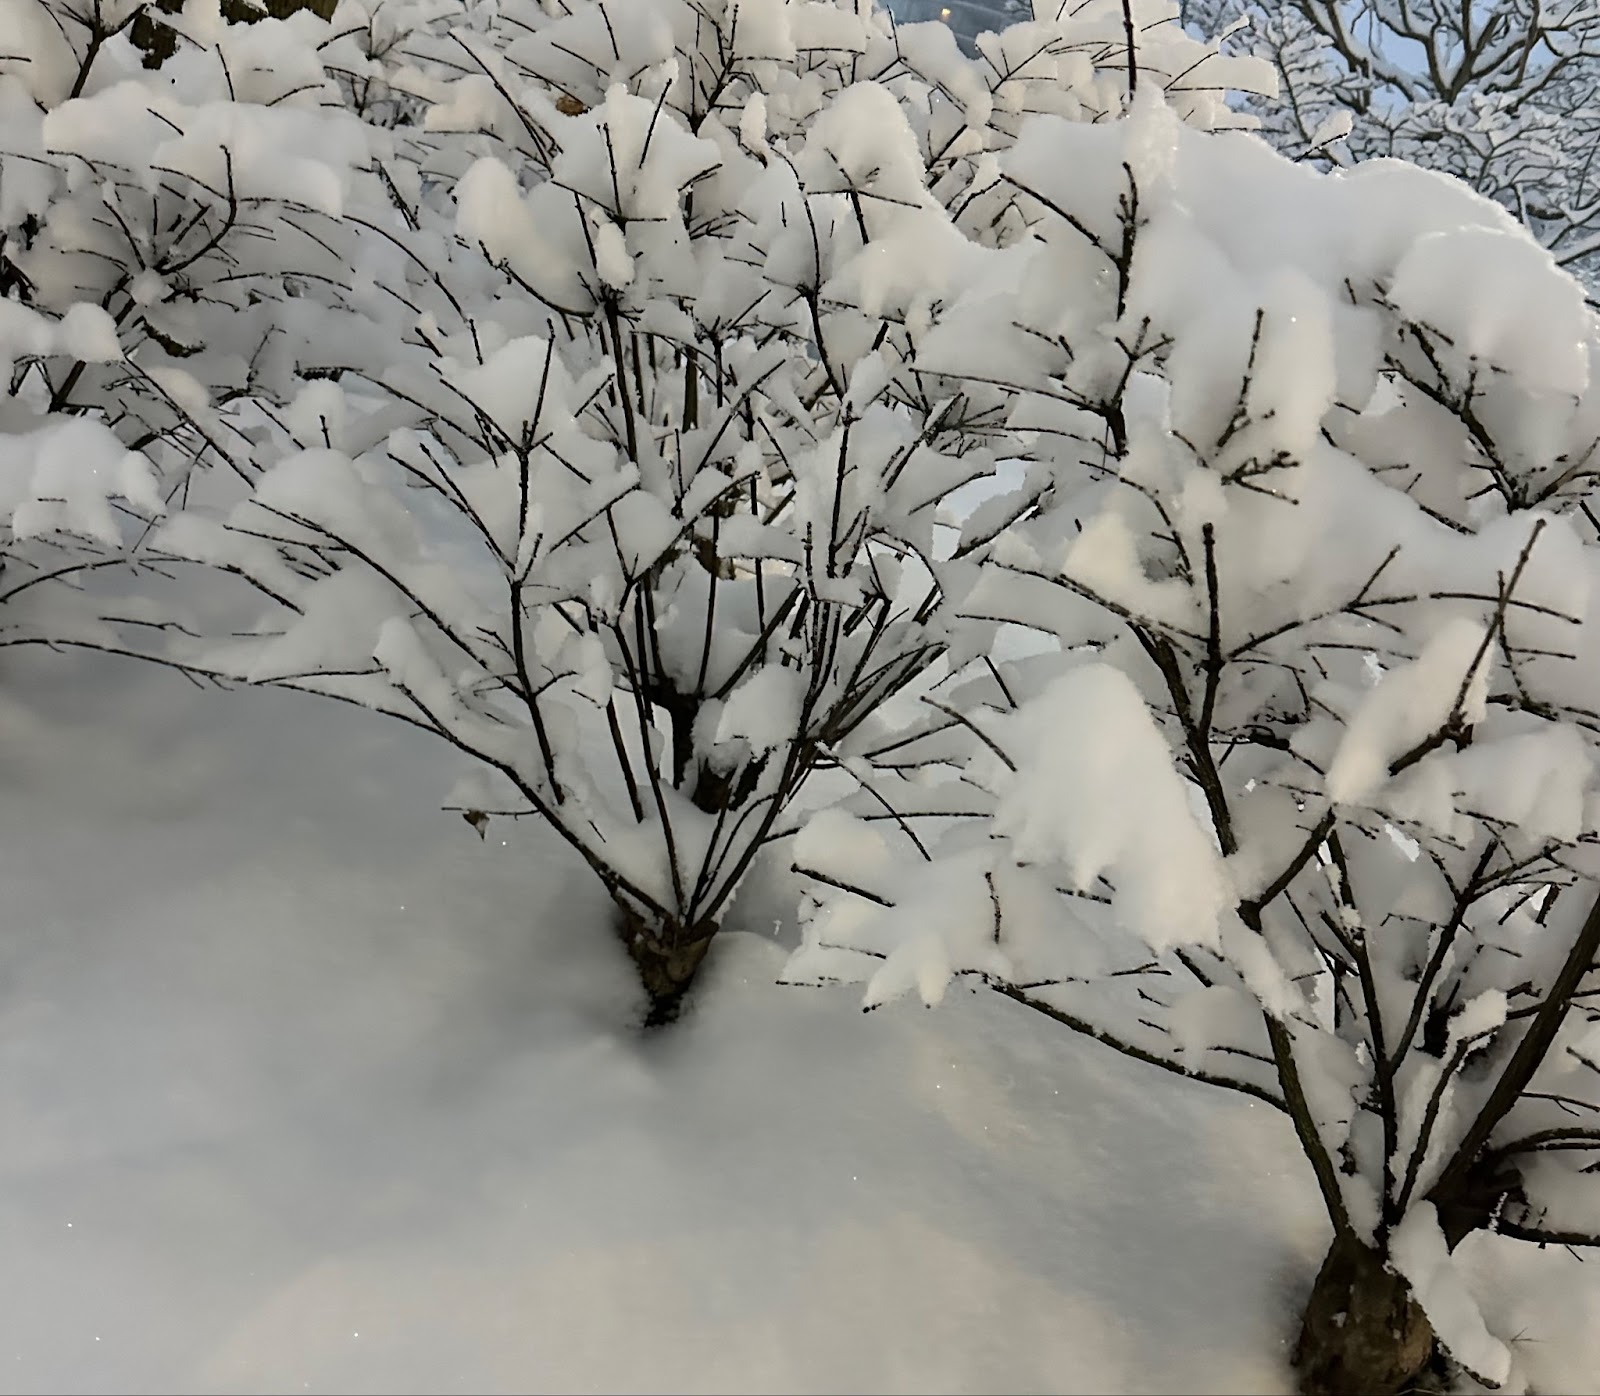
The snow can be hard to capture, but it’s a great opportunity to play with lighting and your camera settings.
Get up close with a macro lens, or use the macro mode on your camera to reveal the mesmerizing beauty of these frozen treasures in exquisite detail.
Remember to dress for success. Winter camping in the Pacific Northwest requires proper preparation and attire to stay warm and comfortable in the chilly temperatures.
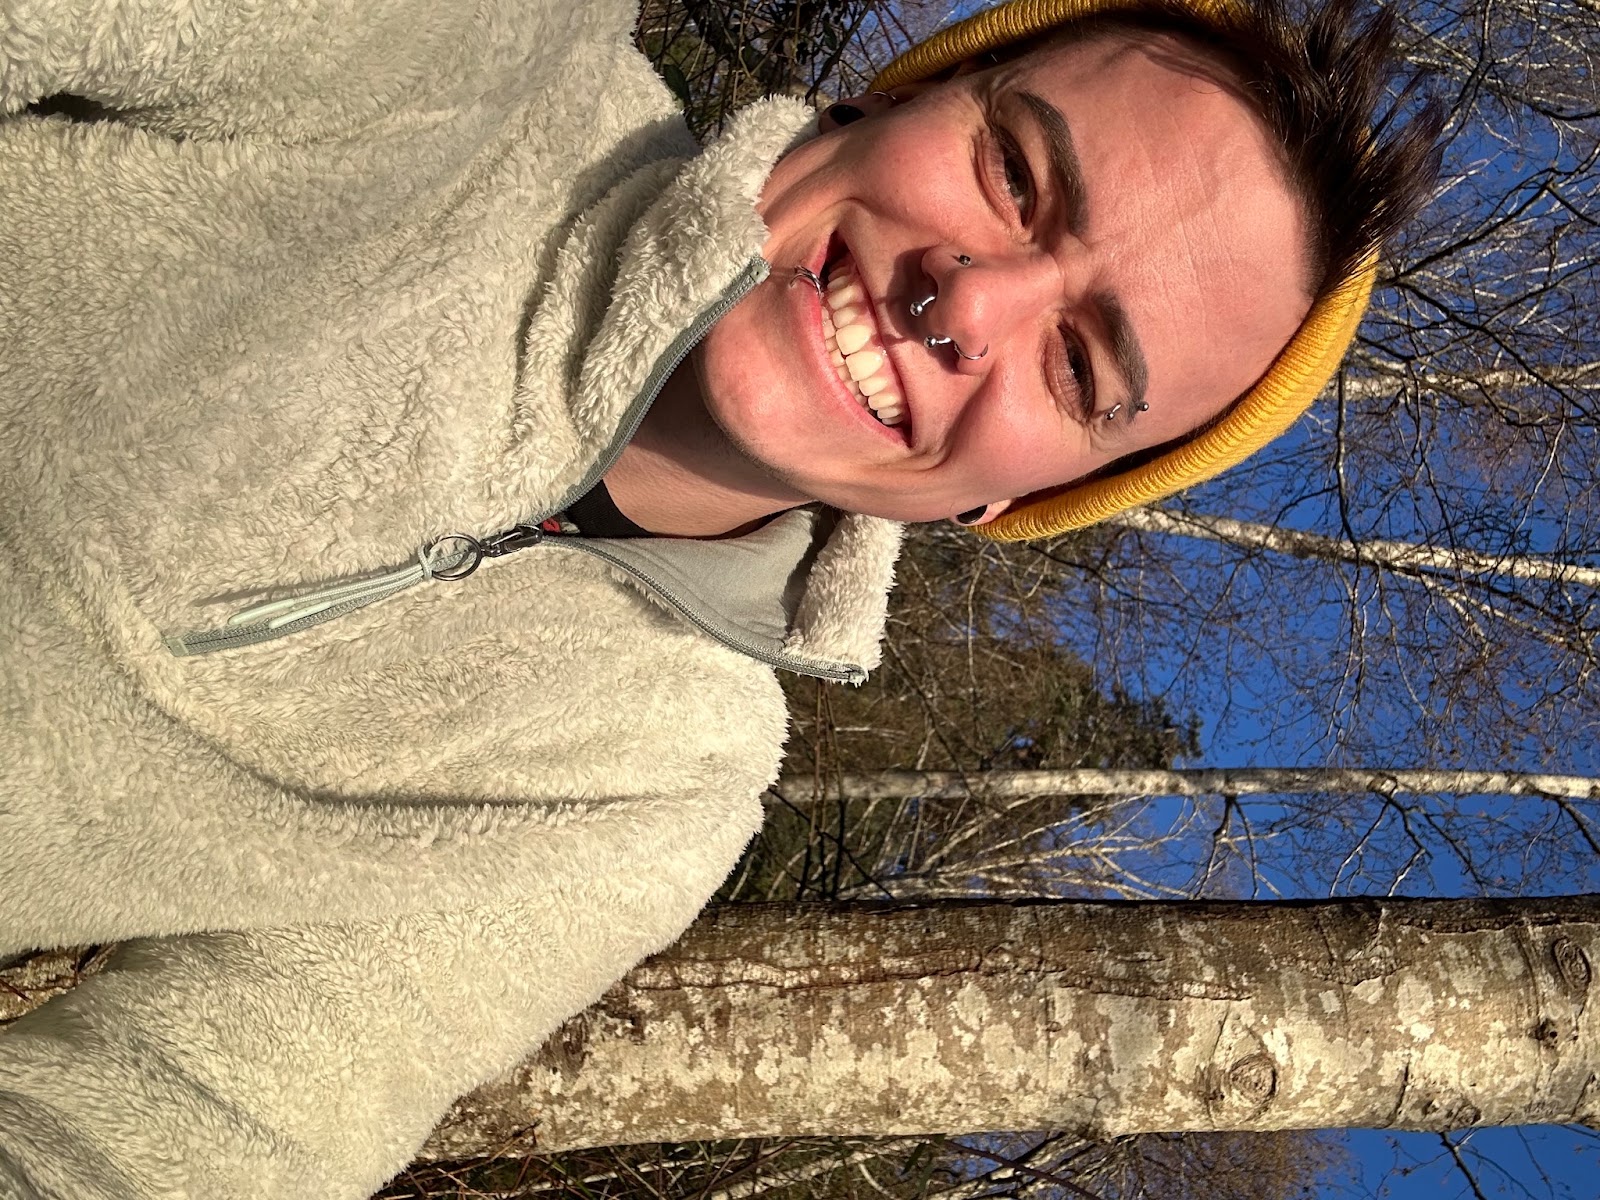
Dress in layers to retain heat and regulate your body temperature, opting for moisture-wicking base layers, insulating mid-layers, and a waterproof outer shell to protect against snow and moisture (so you can kneel without worrying about getting wet).
Me on an outdoor adventure with a good base layer, a warm and cozy sweater and a toque (not pictured my waterproof layer).
Also, wear sturdy, insulated boots with good traction to navigate slippery terrain safely and comfortably. If you're anything like me, you'll do lots of clambering over things to get in the best position for a photo, so boots that protect you from slipping are critical.
By dressing for success, you'll be able to focus on capturing stunning winter photos without worrying about the cold or discomfort.
If you're taking photos with your iPhone or other smartphone, you likely want to consider ways of protecting your hands; this could include:
I tend to opt for fingerless gloves because I have yet to spring for a remote shutter release, and I am personally not a big fan of touchscreen gloves, even though they have gotten quite good.
New to winter camping? Check out my article on tackling winter camping challenges.
Winter conditions can be harsh on camera gear, with snow, ice, and moisture posing potential risks to your equipment.
Protect your camera and lenses from the elements by using weather-sealed camera bodies and lens covers to shield against snow, rain, and moisture. Carry a microfiber cloth to wipe away any snow or condensation that accumulates on your lens, and store your gear in a padded camera bag or backpack to cushion against bumps and shocks.
Consider using a waterproof camera case or dry bag for added protection when hiking or camping near bodies of water or in wet, snowy conditions.
I've already mentioned some equipment throughout this article; however, I will include a consolidated list for those looking to start taking better outdoor photographs on their next camping or hiking adventure.
I am focusing on equipment for smartphone photographers because that's where many people start (and where I tend to stay, so this is what I know best). Even though I have a DSLR, I don't tend to bring it on my outdoor adventures because I am worried about breaking it, and it's less convenient than taking photos on my iPhone, which still gets me decent-quality photos.
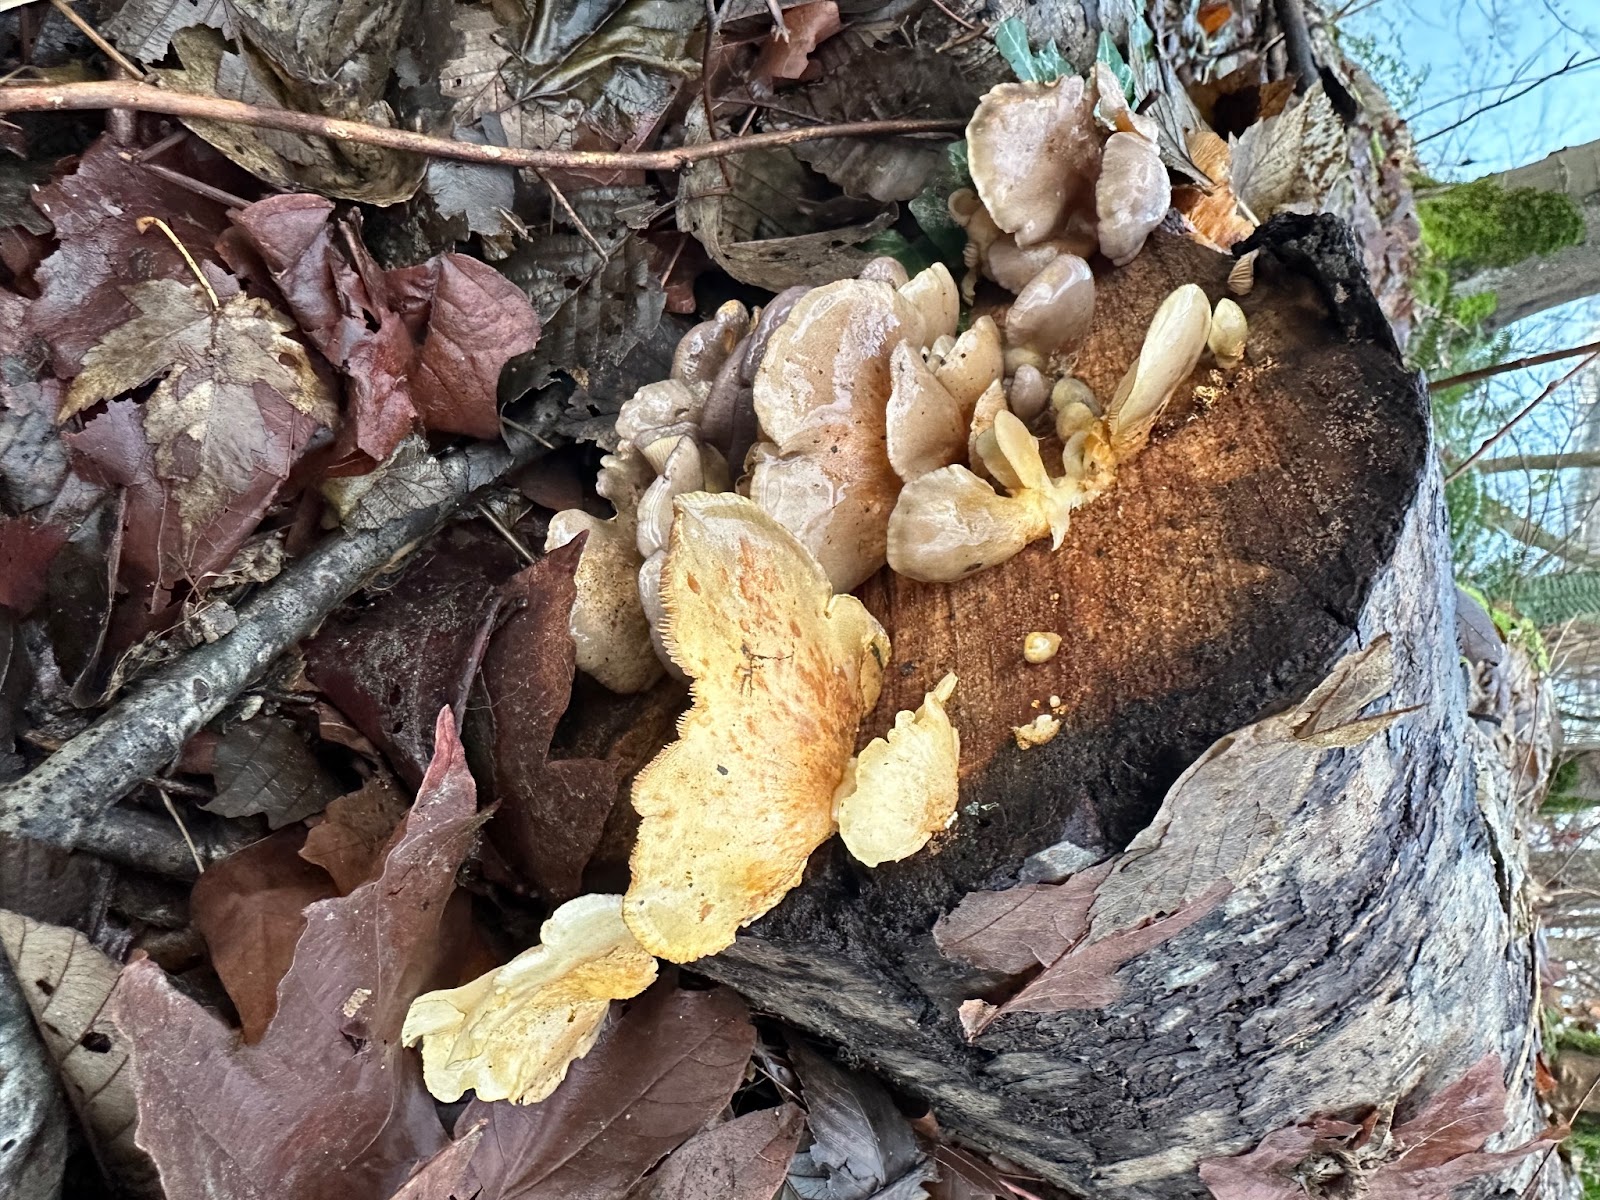
The mushrooms are absolutely stunning in the Pacific Northwest.
Photography is one of the things I love the most about my outdoor adventures, and I am incredibly lucky to live in a place as beautiful as the Pacific Northwest. I am always experimenting with my camera and learning new ways to capture great photos. Please take these tips with you on your next adventure and share the pictures you capture on camping.tools.
Learn something new that you're excited to try? Let me know in the comments. Or if you have a tip you'd like to add, I want to hear that too.
Want to read more of the things I've written?
2 comments
I'm glad you enjoyed this article. That's a really great suggestion, I do definitely take advantage of this from time to time but didn't know that it was called blue hour.


A Quiet Season of Opportunity March sits in the quiet space between winter and spring—when campgrounds are empty, bugs are blissfully absent, and the weather can’t quite make up its mind. For campers willing to plan ahead, it’s one of the most rewarding times to be outdoors. Fewer crowds, fresh landscapes, and a slower pace make this month ideal for intentional, low-stress adventures. Expect the Unexpected The biggest challenge of March camping is variability. One weekend feels like spring, the ...
March Break is a great time to get kids outside and enjoy early spring adventures. Shorter days and unpredictable weather make preparation key. Here are ten quick tips to keep your family safe, warm, and having fun: Layer Up – Dress kids in moisture-wicking base layers, warm mid-layers, and waterproof outer layers. Don’t forget hats, mittens, and extra socks. Warm Sleeping Gear – Use sleeping bags rated for cool temperatures and insulated pads to keep everyone cozy at night. Choose Kid-Friendly ...

I love this article!
As an amateur photographer, I'd consider taking pictures during the "blue" hour as well. It happens before dawn and after dusk, when the sun is below the horizon but it's not too dark yet. During this time, the remaining sunlight takes on a mostly blue shade. Photos don't have harsh shadows and light is soft and even.